


 |
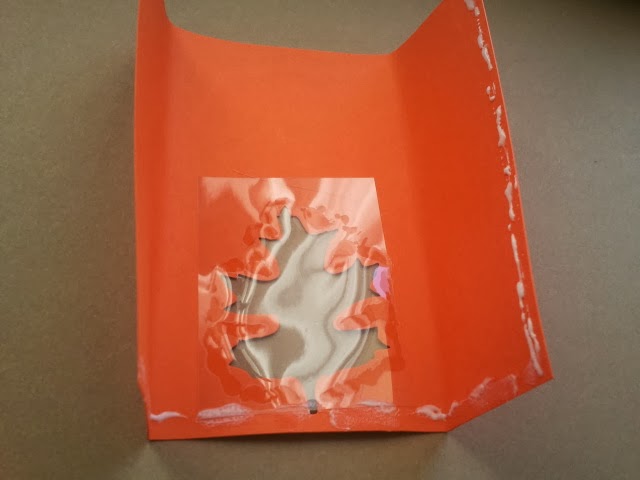
| I borrowed this idea from Pinterest, my son went to church camp for a week and I wanted him to know I was thinking of him. I hid this in his duffel bag. |
 |
| I took different kinds of candies I thought would not melt in the heat. I added tiny messages inside of each day that kind of referred to the candy inside. |
 |
| It looks so cute and when my son came home he told me he finally found it on day three and it made him smile. |
 |
| Using a paint brush I put the glue on the clip. |
 |
| After the glue is on, shake on the glitter. |
 |
| I leave the glitter on the clips until I am done with all the clips I want in that color. |
 |
| When all clips are done in that color I tap it off. |
 |
| I work one side at a time and let it dry. |
 |
| I always use a scrap piece of paper under my work so I can return the excess glitter back into the container. |
 |
| Back it goes. |

 |
| To keep the glitter in place longer I apply a thin layer of clear acrylic sealer. I do this outside because of the intense smell from the sealer. It takes about one day for the smell to go away. |
 |
| I have had a time where I added too much sealer and the glitter didn't have much shine. The lighter I go with the sealer the better it turns out. |
 |
| I will be selling my crafts at a boutique in a few weeks so I wanted to make a box to display the clips. Being the thrifty girl I am, I used an empty Bisquick box. I figured out the dimensions I wanted for my box(I really just eyeballed the size) and cut away the pieces I did not need. |
 |
| After deciding on the dimensions I wanted for depth the box I scored it on both sides. I outlined it in black to show you here. |
 |
| To make the sides, cut just to the first line about an inch or so on all four sides. |
 |
| I didn't take a picture of this, but I glued a piece of patterned paper over the yellow side of the box. I used Alene's tacky glue and used some clothes pins to make it stay. |
 |
| When all is said and done I wished I had folded the pattern paper over the side of the box. You can still see a little bit of the yellow under the edge of the paper. |
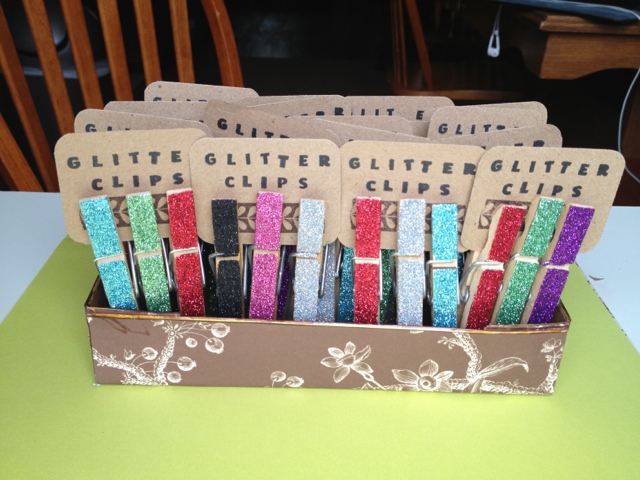 |
| Here is the finished product. |

 |
| Basically I just used some old book pages and tore them to fit inside the outline of the stars. Then I decoupaged the torn paper onto the stars. I liked how a bit of the original color from the star still peeked out. |
 |
| For the embellishments I used some paper from K&Co. I found at Ross. I used my scallop punch and punched out two scallops and then accordion folded them and adhered them to each other. I used my glue gun to adhere the medallion to the star. Then I popped a gem into the center. |
 |
| For this medallion I scored a piece of 12 x18 (I had to lengthen the paper after I scored it) paper every quarter inch and used score tape to attach it to itself. |
 |
| Here is a side by side pix. |

 |
| I used various sizes of medallions and centers. |
 |
| As the glue was drying from the decoupage I added some silver glitter that you can kind of see here. |
 |
| There are a total of 6 stars and it didn't take very long to complete the transformation. |


