Our theme this month was use a stamp set you have not used or haven't used in a long time.
Carey created this one. I love the texture of the grass and the scalloped sky.
Our lovely demonstrator Terri came up with this perfectly masculine card. She paper pieced and popped up the argyles on the shoe.
Cindy created this lovely gift card holder. The green, white, and black are a great color combo.
Chris designed this creative card. She fussy cut the chair and the fire (such patience). She embossed all the images using a glitter powder that I wished showed up in this photo. The fire also has glitter accents and really makes the card pop.
Kim brought this one to the table. She custom colored the tiny buttons to match the purple in the patterned paper, too cute.
Michele used the ever popular hexagon embossing plate on her card. She also hand colored each bee. This combination really looks good.
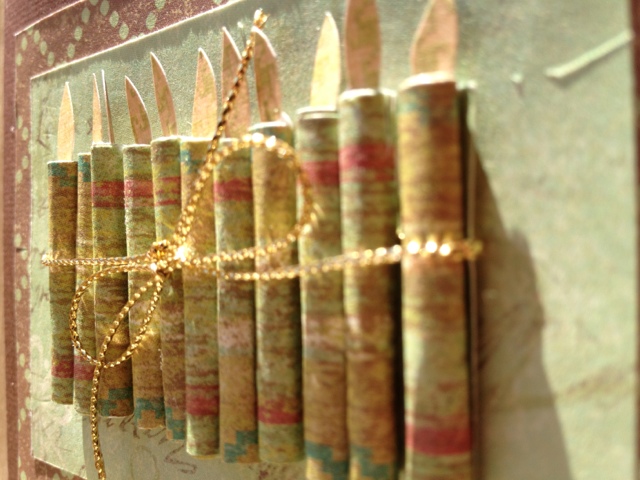
a peek at the inside, I love this kind of detail.
Monica designed this beautiful shell card. She loves the ocean and you can tell by the style of her cards. I love the microbeads as water, so cleaver.
These are my contributions to the group. I went back to my Close to my Heard days. I haven't use these stamps in a long time but they were my favorites. I love how you can update your techniques and keep old stamps current.
Terri prepared this make and take for us. We used new Stampin Up! products from the new catalog. I love this punch and had to order it. I love the repeating shapes in the textured back ground in the paper and stamps even to the punch used. Below is the 4th of July card Kim had for all of us to make. I love altering the owl punch from Stampin Up!